When all the world is...HOT!

Oh... what do you do in the summer time, when all the world is hot!


We make ice cream.


--Take a little milk, half and half, cream and sugar...


--Put them in the blue smurf (tiny ice cream maker)


--Mix until it is mostly solid


--Pour into bowls


--Eat with feet in a play pool.


Aah... the world has been cooled for a little while.

The case of Mistaken Identity

All of these items have been mistaken for something they are not.

See how you do:

What is this?


If you guessed the first photo is mozzarella cheese: you would have guessed the same as my daughter.

The next photo looked like little balls of cookie dough (notice there is one missing in the bottom corner, you can see the remnant of a white ball stuck to the tin foil). My husband tasted one of these.

And the last photo? Did you guess milk?

All of these identities are mistaken! These are none other than a humble

bar of soap.

Did you guess Soap?

Magical Fire Starter

The perfect fire starter. Pine Cones!


I was looking for things to do with my nephews and niece when I went back east this last summer. I came across an "activity" of make your own fire starters.

Basically it is dry pine cones, covered in wax--(and a little salt while still sticky).

They work fantastic!


I took old candles that have a tunnel burned out of the center and melted them in a pot of hot water.


Then I poured the melted wax over the pine cones... and hurried... and sprinkled salt.


Don't they look like they have been frosted!


I just put one or two under the logs I am going to light (in the fire place). Strike a match and the magic begins.
I am not sure (exactly) why this works. It has something to do with the wax though. I think it gives the fire some staying power so it will actually burn the pine cones. What ever it is... It works!

Try it!

P.S. I did not actually get to make these with the little guys back east.

New? storage....Luggage

I am sick and tired of the storage "solutions" being damaged or just is not the right size....

Well. I have found a solution. I am taking luggage (solid) and painting them to fit my beauty girl's color scheme. Now we have Polly pocket storage, barbie storage, stuffed animal storage and art supply storage. And all of it fits under her bed. By having all of this luggage taking up all of the room, it helps keep other things from being shoved under the bed.
(After all, that is the meaning of cleaning your room. Push it under the bed and no body will be the wiser. Right?!)

Anyway. On to the process.

  • Find old luggage.

(I happened across this really nice set of Samsonite. The insides were in prime condition. a little wash and good as new.)


  • Lightly sand the out side shell.

(tape off anything you want to keep paint off of. I taped the handles and latches.)

  • use "good" spray paint. I used Krylon.

(several coats will be necessary. I should have primed the luggage first. Then I would have only used One can of the ballet slipper pink. But none the less, I did need two cans of paint for three pieces of luggage.)

Now for the cream. I could not find a crown to save my life and I did not want to have PLAIN luggage storage. It needs a little whimsy. I made a stencil out of laminating film. After I used a good sharp exacto knife and cut away the pieces that would show on the luggage, I taped the stencil into place. This is where I used a different color of paint. Bronze? I think was the color. But It goes great in her room. And Yes! I did have to cut out a second crown stencil because my first one was too big to fit on the train case (which houses the small Polly pocket dolls).

We have filled the suitcase storage and now have some great places to keep her stuff. UNDER the BED! Hooray!!!

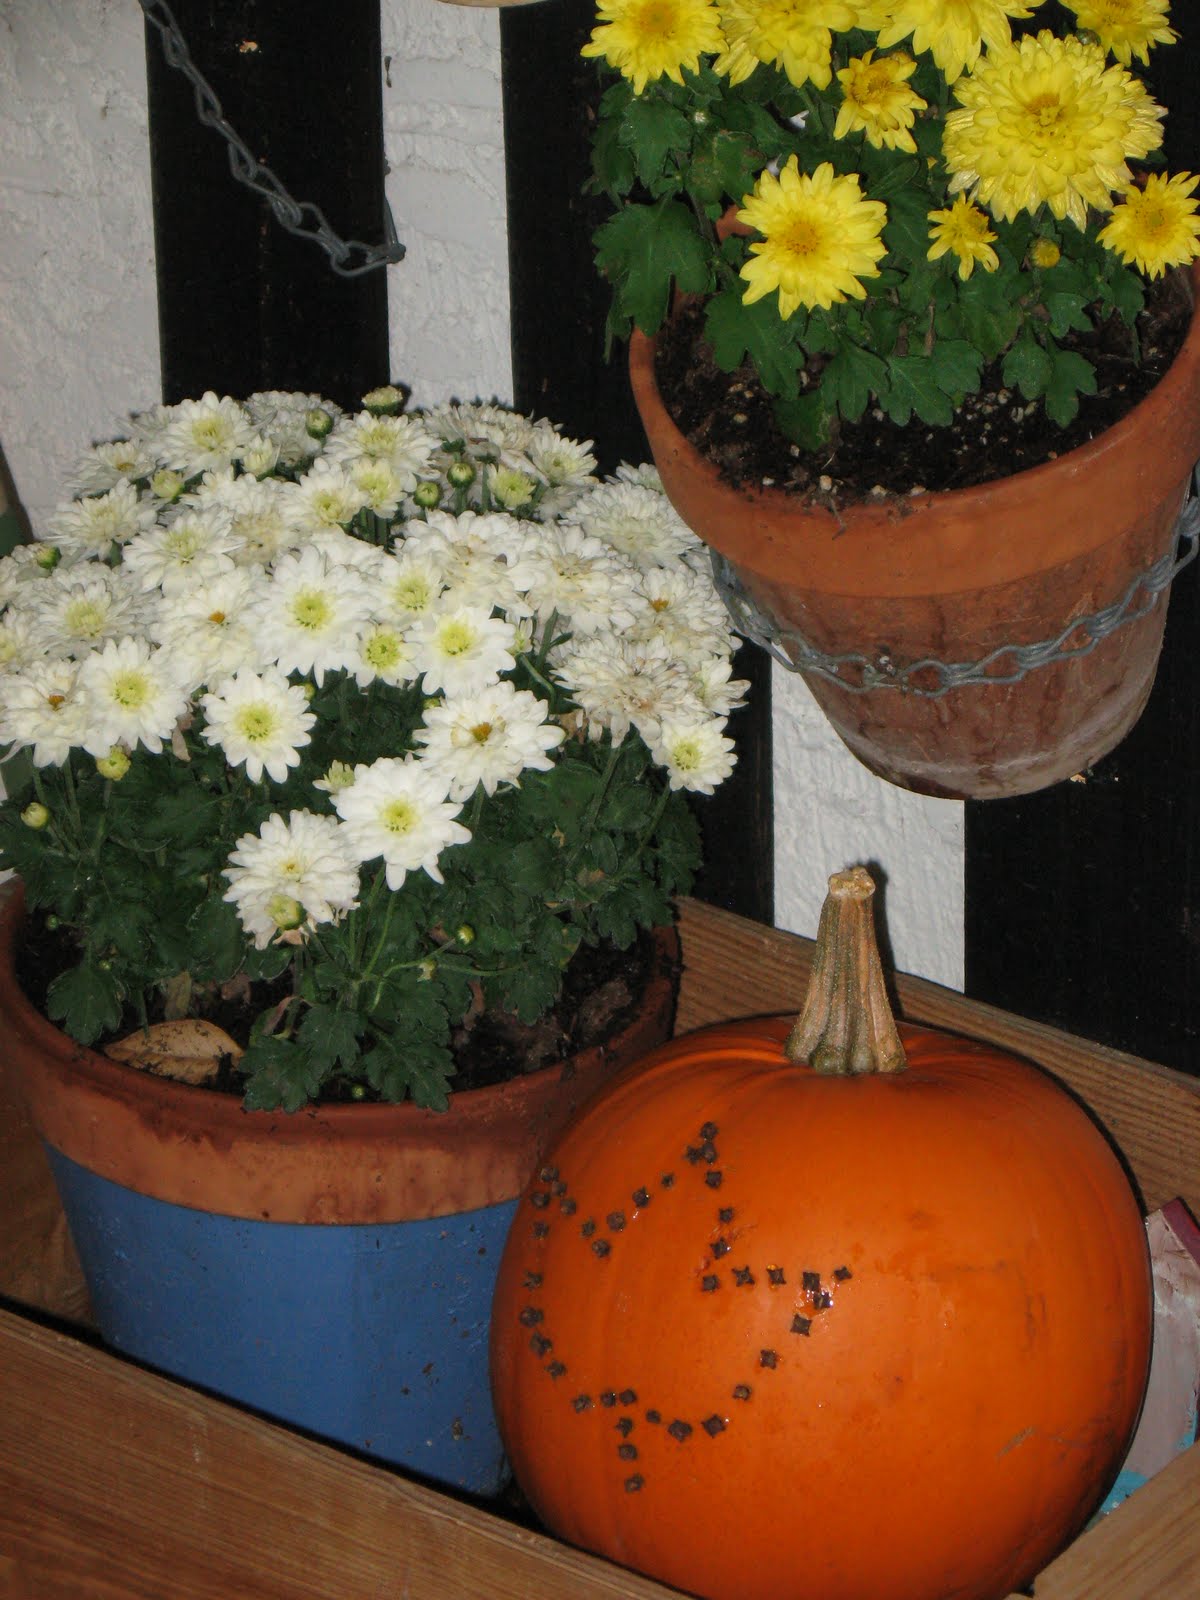
Fall Clove Pumpkin


I saw this idea in a magazine a few years ago. But when I went to look for the actual instructions.... they were no where to be found. So I had to do the best I could with my memory.

Start with a pumpkin and some whole cloves. You will need a tool to poke holes in the outside of the pumpkin. I used a nut picker (you know the one that is used when you crack a nut and have to fish the flesh out.)


I just poked some holes in the shape of a leaf ( a little sad, I will admit, but it was my attempt at a leaf). Then I inserted the cloves into the holes.

That is it!


I set my pumpkin out on my front porch with my flowers. It creates a lovely spot of color.